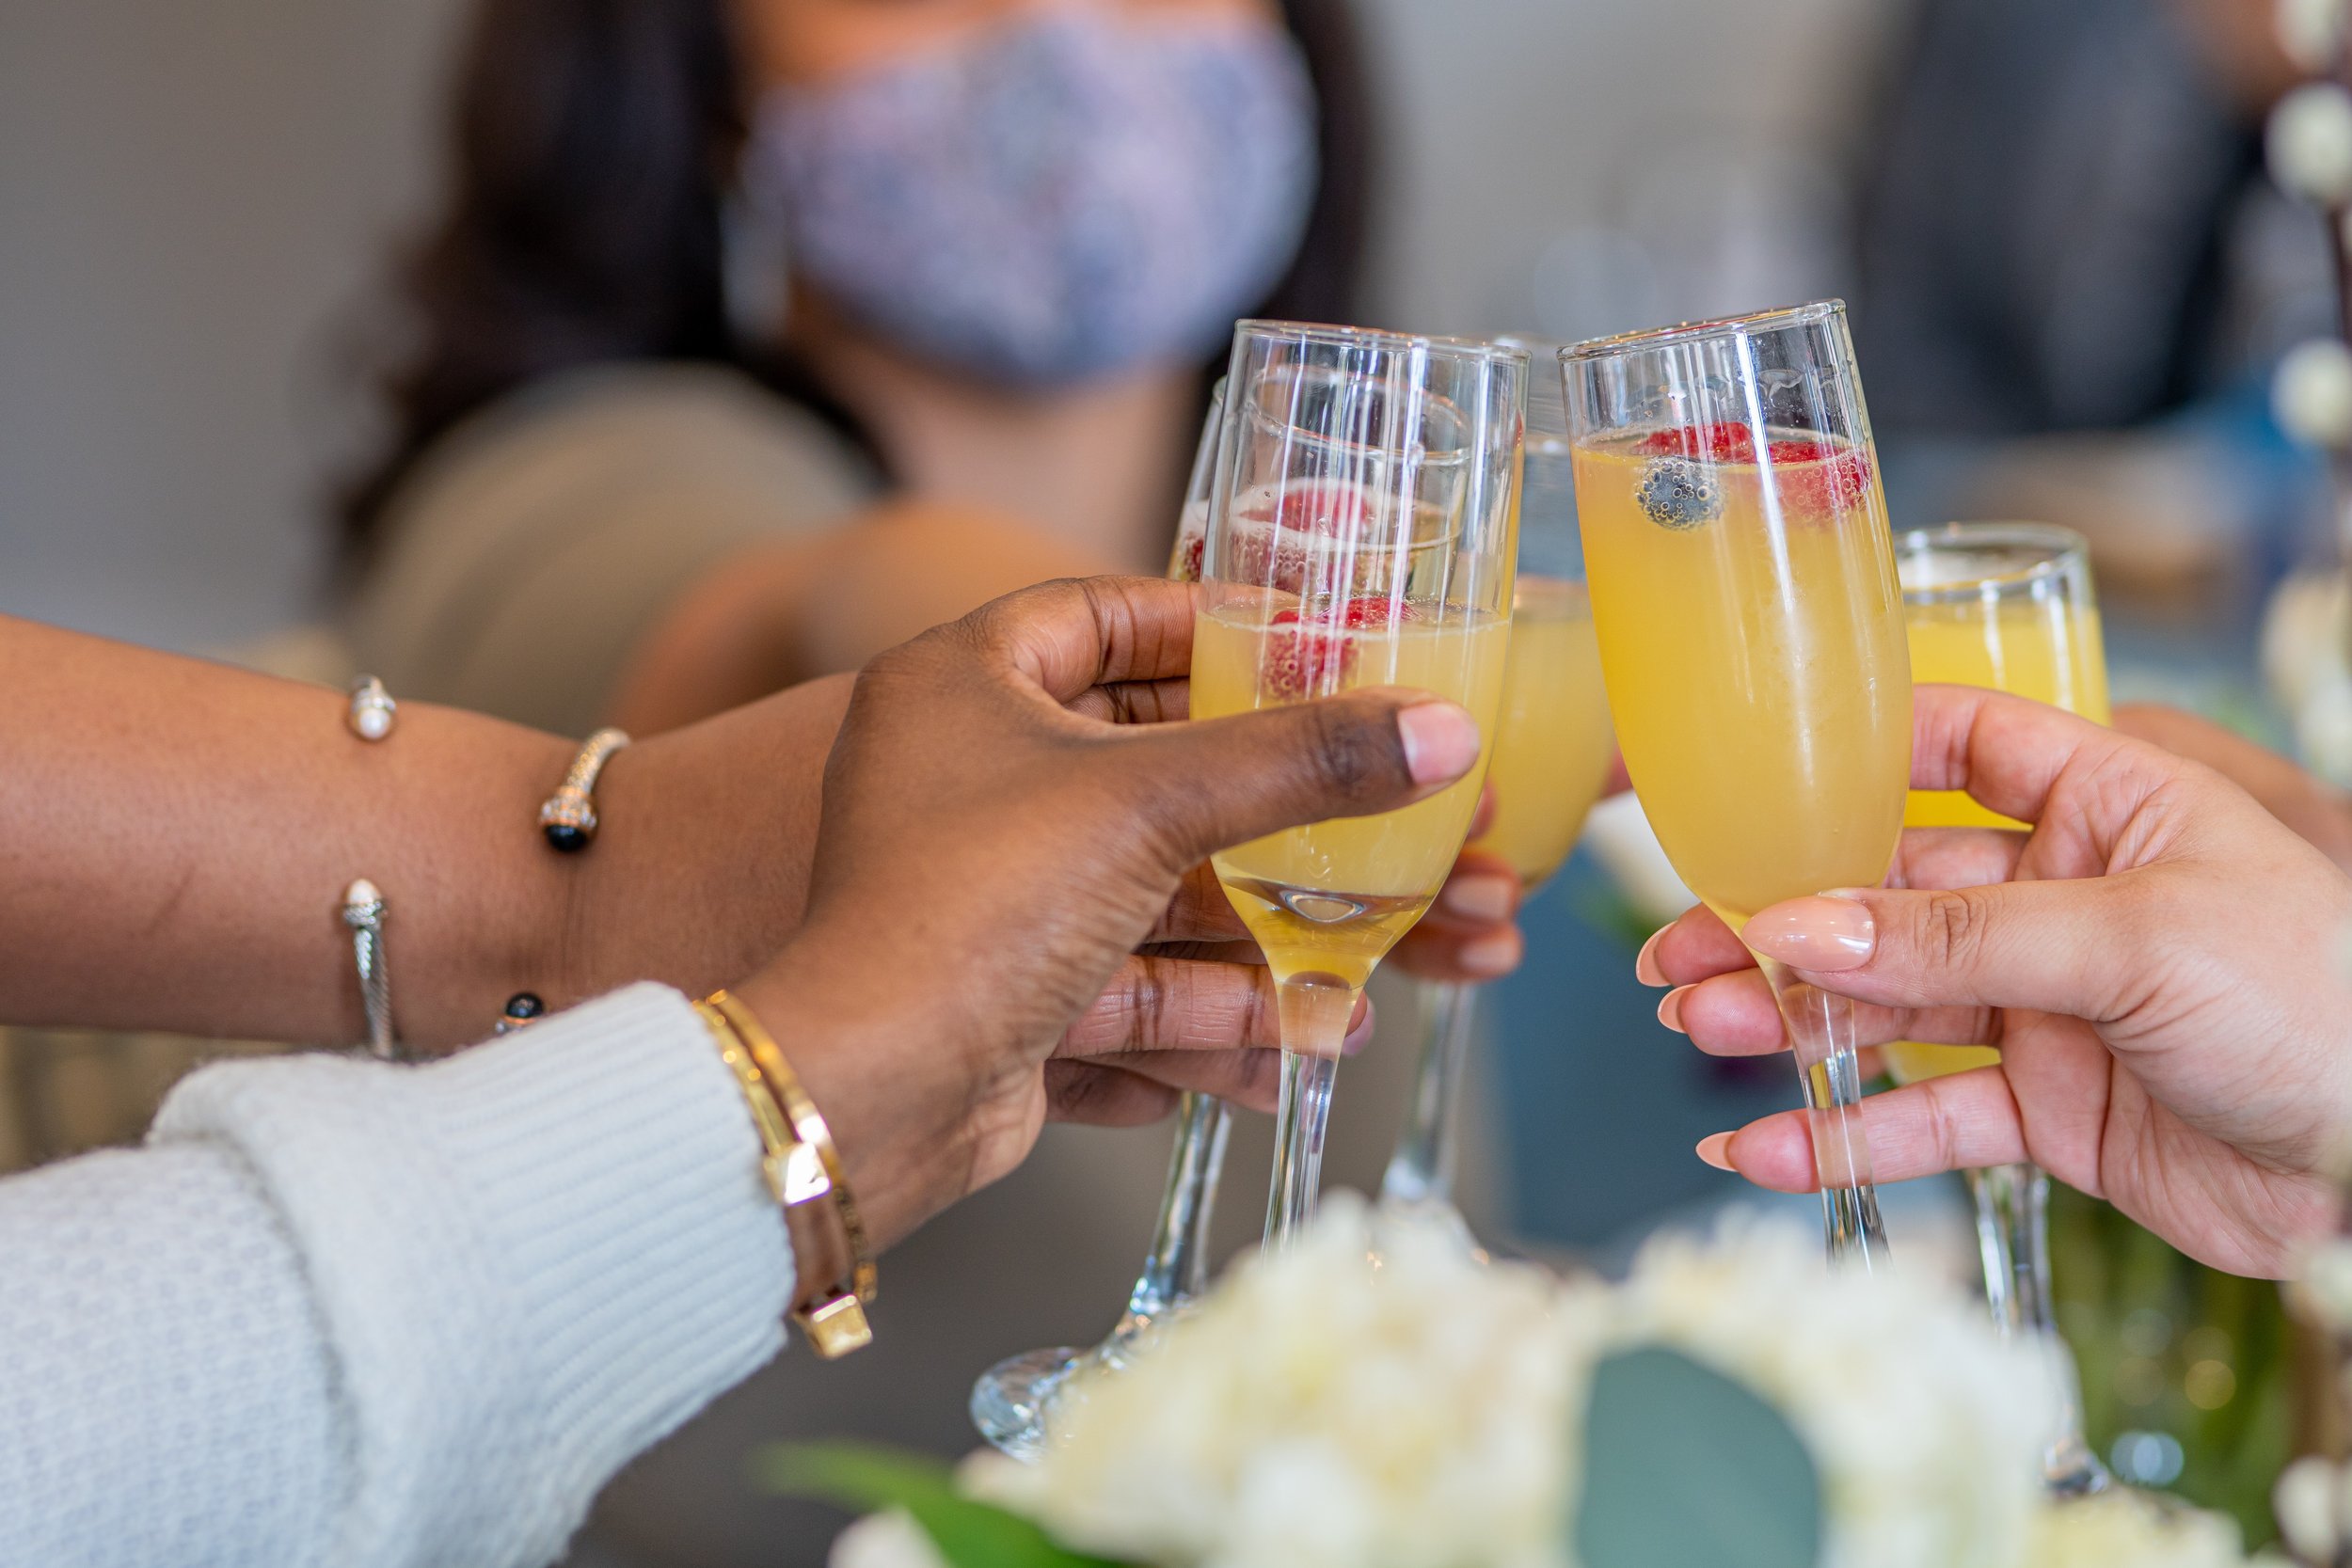
How To Build a Mimosa Bar In 6 Easy Steps
Mimosas. They're simple, affordable, delicious, and the perfect addition to brunch. And mimosas can be so much more than just a simple combination of champagne and orange juice. A DIY mimosa bar station takes your brunch to the next level, and when the time comes, are a wonderful addition to baby showers, bridal showers, graduation parties, birthday parties, and so much more.
You can make your mimosa bar as simple or as over the top as you want. Regardless, your guests will love the novelty of making their own unique mimosa concoction.
So whether you're having a little quarantined brunch, or are simply day dreaming about future gatherings with friends, here's everything you need to put together a memorable DIY mimosa bar.
Step 1: Choose Your Bubbles & Juice
When it comes to mimosas, the bubbles and juice combinations are endless. Here are some of our favorite options to include in your DIY mimosa bar.
Bubbly Options at the Co-op
You can go with dry champagne to create a nice contrast with sweet fruit juice, or you can opt for a more floral, fruity champagne to add even more sweetness to the mimosa. Traditionally, mimosas are made with orange juice and brut champagne.
Our wine department features products from all over the world, including local wineries, European wineries, and wineries from the Southern Hemisphere. As far as champagne and sparkling wine go, here are a few of our options to pick up next time you're in for shopping:
Jean Dorsene Brut — France
Montelliana Prosecco — Italy
Bodegas Pinord Dibon Brut Reserve Cava — Italy
LaLuca Prosecco DOC Treviso — Italy
Zardetto Prosecco DOC Brut — Italy
To accommodate any guests who don't drink alcohol, consider including some champagne substitutes such as sparkling white grape juice or club soda.
Juice Options at the Co-op
Traditionally, mimosas are made with orange juice, but sometimes it tastes good to buck tradition! Mimosas made out of grapefruit, cranberry, pineapple, blackberry, or pomegranate juice are also delicious. Or, you can take it a step further with a juice blend featuring a few different fruits for a more unique mimosa.
Here are a few juices we offer at the Co-op to punch up the flavor of your mimosa bar:
Uncle Matt's Organic Orange Juice
RW Knudsen's Morning Blend Juice
Lakewood Organic Pomegranate Juice
L&A Papaya Delight Juice
Santa Cruz Orange Mango Juice
Step 2: Slice Up Fresh Fruit For Garnish
If you've never had a mimosa with fruit in it, you're in for a treat! Fresh berries and citrus are the perfect cherry on top that adds an extra layer of fruit flavor.
A few fruits that would work well as extra mimosa garnish include:
Sliced strawberries
Whole blackberries, raspberries, or blueberries
Sliced kiwi
Orange wedges
Or, toss in some frozen fruit to serve as ice and keep your mimosa nice and cool as you drink it! Check out our selection of frozen fruit from Rockport-based Cascadian Farm in the freezer section.
Another option is to include fresh herbs as a garnish. Some rosemary sprigs, thyme, fresh mint, or basil would add a nice decorative touch to your at-home mimosa bar!
Step 3: Create Labels & Signs
While labels and signs serve a purpose, they can also be quite decorative and aesthetically-pleasing! A quick search on Pinterest will give you the inspiration you need to put together your own custom signage.
If you're not feeling particularly creative, check out this article with free printable labels that feature a beautiful watercolor floral design.
Whether you make your own signs and labels or simply download and print them, it's helpful to include tags for each type of juice, sparkling wines, and non-alcoholic drinks that you're offering.
Step 4: Gather Your Drinkware & Other Supplies
Now that you've got signs figured out, it's time to bust out the drinkware. You can go classy with champagne flutes or glassy with mini mason jars.
Here's a helpful checklist of the items you'll need to get your mimosa bar all set up:
Long-stem champagne glasses (or small jars)
Large tray for drinkware
Ice & champagne bucket
Carafes or upcycled glass milk jugs for juice
Small bows for sliced fruit
Table decor
Signage & labels
Serving utensils & tongs
Wine charms — optional
Coasters — optional
Decorations appropriate for the event (i.e. baby shower, bridal shower, birthday) — optional
Step 5: Set Up The Bar
Once you've gotten all the supplies and ingredients, you're ready for the fun part: making everything look celebration-ready!
Need some more inspiration? Here are a few DIY mimosa bar ideas:
How To Make a Mimosa Bar from Country Living
Fun and Affordable Mimosa Bar Ideas from First Day of Home
How to Host a Bridal Shower Mimosa Bar from Revel & Glitter
Choose the arrangement that best suits you, then set up your mimosa bar sign, the table decor, and any other decorations you want.
Set out the large tray and place the drinkware on top. If the large tray your using is ceramic or glass, you might want to lay down a cloth runner on top of the tray to protect both the tray and your glasses. Or, a sustainable bamboo serving tray is a great, less-breakable alternative.
Set Up The Juice and Champagne
Prepare your juice and champagne by cooling them in the fridge before guests arrive.
Once it's time, fill up the champagne cooler with ice. Open the bottle of bubbles and place it in the cooler. Leave any additional bottles in the fridge until you're ready to open them.
Take the juice out of the fridge and pour it into the carafes you'll be using. Label each carafe with its designated tag and arrange them near the bubbles.
Arrange The Fruit Toppings
Once you've sliced your fresh fruit, place them in the small dishes, and arrange them alongside the champagne and juice. Place small tongs or charcuterie-style forks near the fruit for easy serving.
Put Out Any Additional Items
If you're choosing to use wine charms or coasters, set those nearby so that guests can easily access them away from the mimosa station. Put out some napkins and any other items that you want to include.
Step 6: Enjoy!
Raise a glass to your friends (and yourself for all that hard work). If you snap a photo, we'd love to see it on Facebook or Instagram. Tag us at @skagitfoodcoop. Now sit back and relax and enjoy a mimosa or two with friends and family. Cheers!


